


- News
- Stories
- Sports
How to Edit Photos Like a Pro: Light and Shadow
Understanding Light in Editing
The role of lighting in shaping image depth GIMP
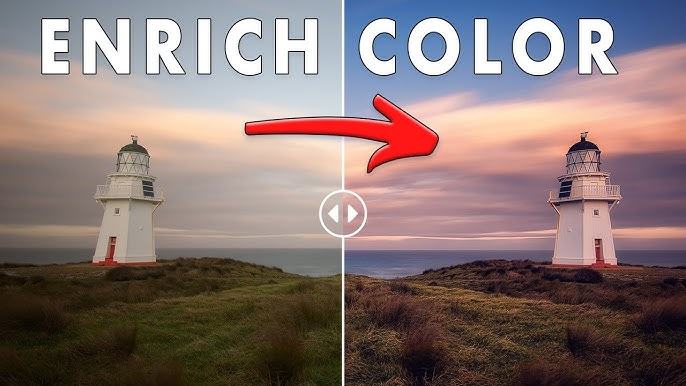
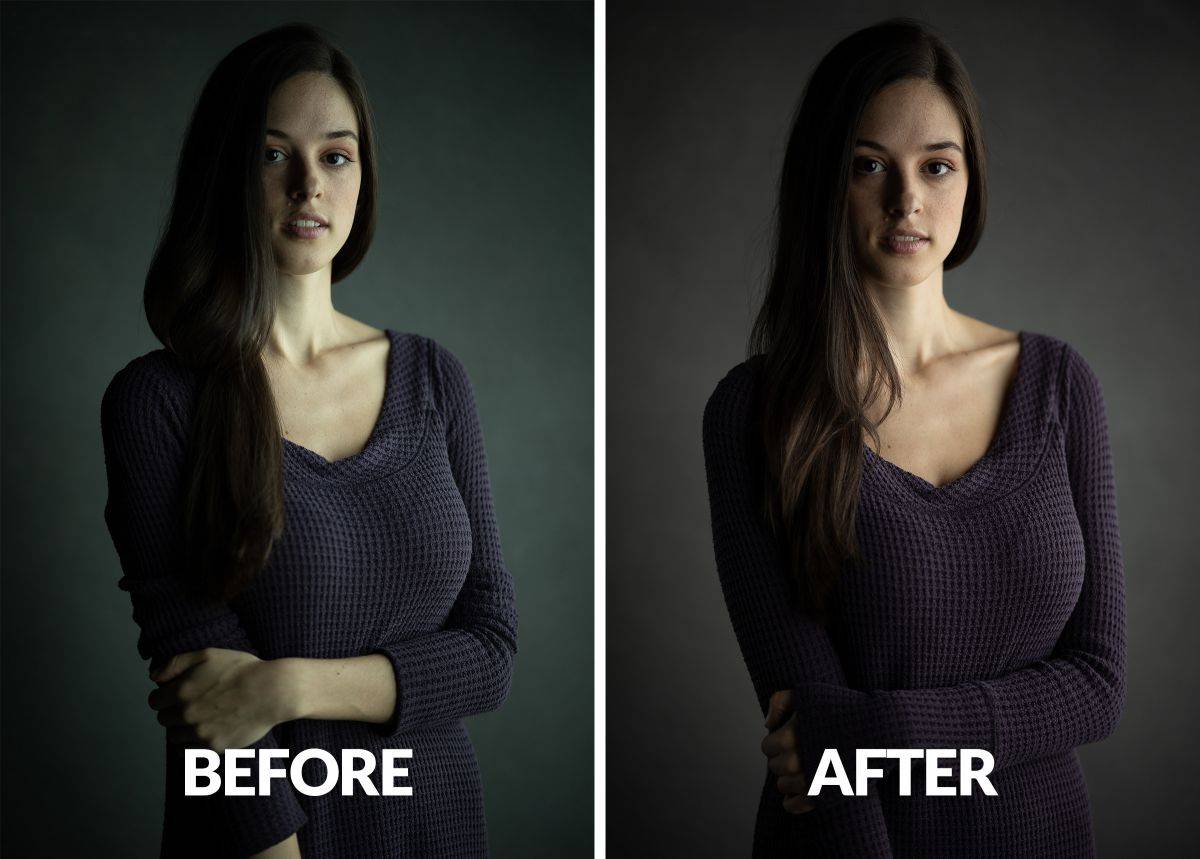
Light is the backbone of any great photo. To edit photos like a pro, it's essential to understand how light interacts with different elements in an image. Natural lighting, such as daylight and golden hour glow, provides a softer and more diffused effect. In contrast, artificial lighting, including indoor and directional sources, often creates harsh shadows or intense highlights. When editing, the goal is to control these elements to bring balance and a realistic feel to your photos. Mastering this understanding allows you to correct or enhance the original lighting conditions, giving each photo a professional touch.
The Impact of Exposure and Contrast
Adjusting for clarity, mood, and focus
Exposure and contrast settings are among the most powerful tools at your disposal. Exposure determines how light or dark your image appears, while contrast defines the range between shadows and highlights. Balancing these two can significantly enhance the depth and clarity of a photo. If the image is too bright, details in the highlight areas might be lost. Too dark, and the shadows can overpower the subject. Fine-tuning contrast adds dimension, separating the foreground from the background and drawing attention to key areas. With controlled exposure and contrast, every image can be transformed into a more polished version of itself.
Balancing Highlights and Shadows
Enhancing realism through precise adjustments
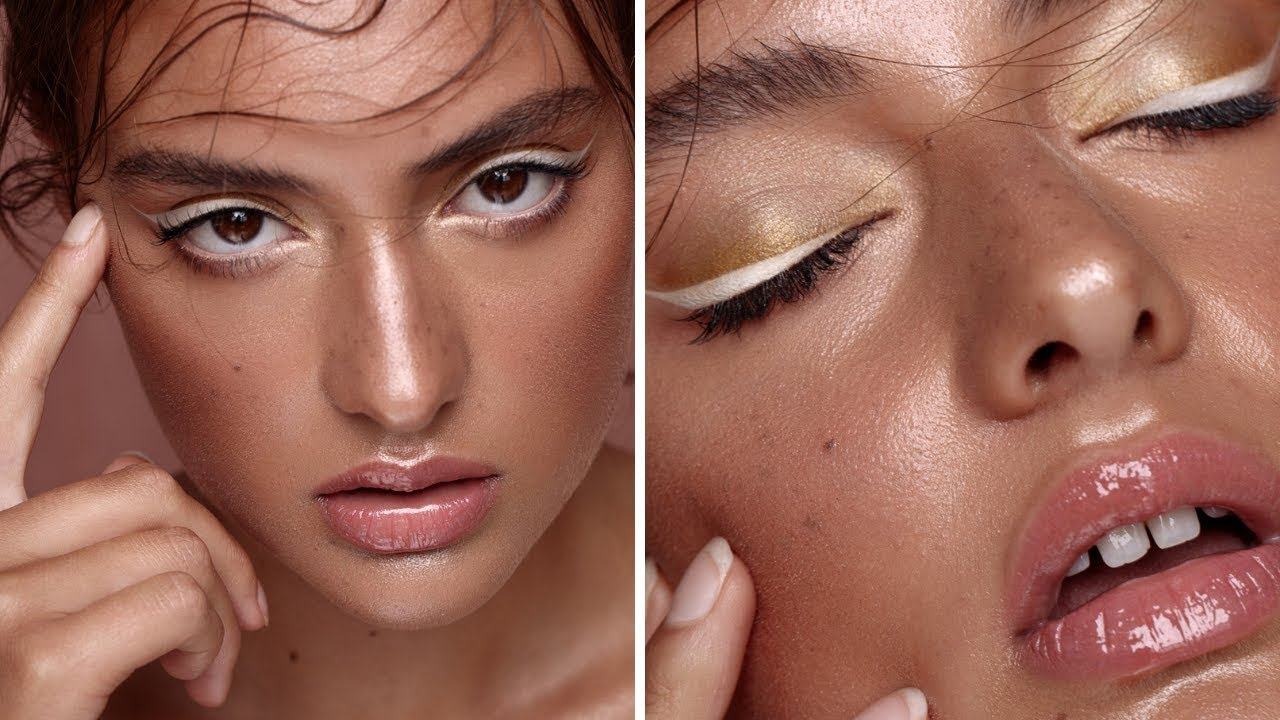
One trick professional editors use is delicately managing highlights and shadows. This balance defines whether an image feels natural or overprocessed. Raising the shadows reveals hidden details in dark areas, while lowering the highlights prevents harsh bright spots. This technique is particularly effective for portraits, landscape shots, and interior photography. Adjustments should be gradual and mindful to avoid flattening the image. Tools like GIMP offer sliders that help manage these areas with care. Apply changes while constantly reviewing the full composition to maintain the integrity of lighting and visual storytelling.
Using Tone Curves Effectively
Creating depth and emotion in your images
Tone curves are one of the more advanced but rewarding tools for photo editing. They allow for precise control over the light range, affecting highlights, midtones, and shadows independently. By plotting points along the curve, you can craft a unique light signature that enhances the mood. For example, an “S-curve” boosts contrast naturally, making bright areas pop and dark zones richer. A flatter curve creates a more muted and nostalgic look. Editing with tone curves gives you the freedom to shape your image’s lighting beyond basic sliders, making it a preferred trick for those who want to edit photos like a pro.
Avoiding Overexposure Pitfalls
Protecting image detail and color integrity
Overexposure occurs when parts of the image are too bright, resulting in lost detail and washed-out tones. This problem can happen easily during shooting or editing. To fix it, avoid relying solely on brightness tools. Instead, reduce highlights and whites first, then consider adjusting the exposure slightly downward. Use the histogram to check light distribution—if data is pushed to the far right, overexposure is likely present. With tools like GIMP , you can selectively recover areas without affecting the rest of the photo. A well-exposed image maintains the natural look and provides room for creative adjustments.
Combating Flat Editing Results
Bringing your photo back to life with light shaping
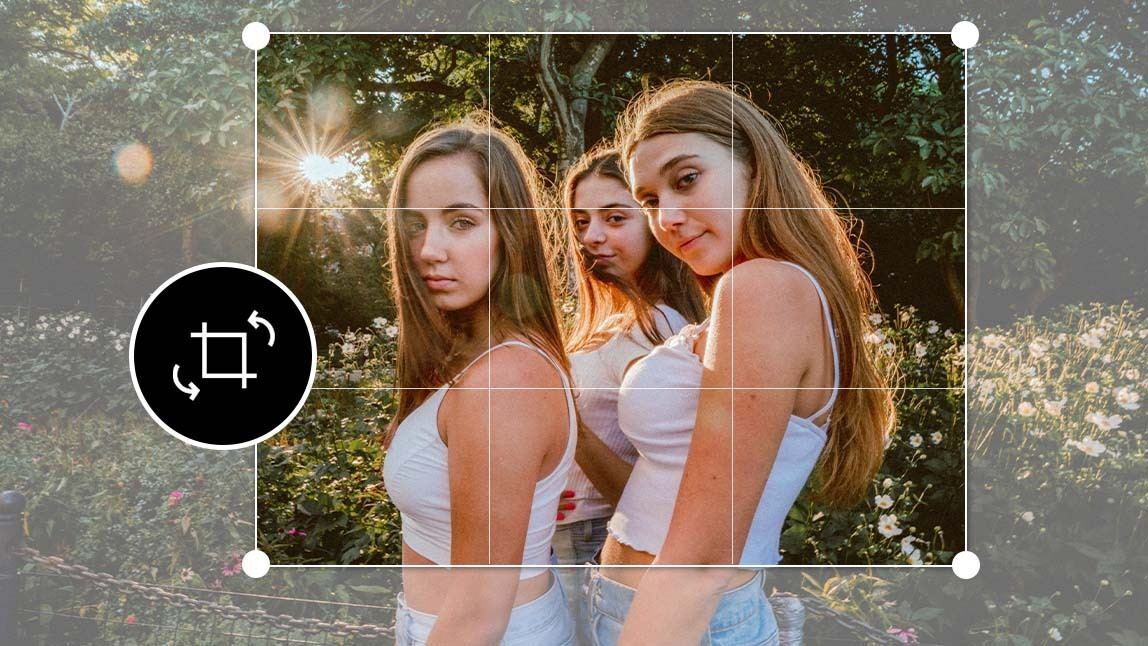
Flat images lack contrast, definition, and emotional impact. This often happens when edits are applied too uniformly or when shadows and highlights are compressed too much. To avoid this, introduce subtle tonal contrast and local adjustments. Enhance edges where light naturally falls and add depth by slightly darkening background elements. Use selective tools to brighten key areas like the subject’s face or focal points. This process can elevate the visual narrative, making the photo more engaging. Editing is not about equalizing everything—it’s about guiding the viewer’s attention through intentional light management.
Trick: Layer-Based Light Adjustments
Advanced tip for more control and precision
Professional editors often use layered edits to refine the lighting without harming the original photo. Each layer focuses on a specific element—like a shadow or a highlight—and can be fine-tuned independently. This method allows you to revisit changes, reduce intensity, or mask areas selectively. For example, adding a brightness layer for the sky and a separate one for foreground elements can preserve balance and realism. Many editing tools, including GIMP , support layer-based workflows. When you edit photos like a pro, layers become essential for maintaining flexibility and achieving precise results.
Why Realism in Editing Matters
Evoking emotion while preserving authenticity
Photos that feel real often resonate more deeply with viewers. While bold edits have their place, subtle refinements that mimic natural lighting tend to have broader appeal. Realistic editing means preserving skin texture, maintaining natural shadow placement, and enhancing tones without artificial effects. This approach creates timeless images that convey emotion and clarity. Training your eye to recognize when to stop editing is as important as knowing how to start. Each photo should feel like an enhanced version of reality—this is the ultimate mark of professional editing.
Final Thoughts on Editing Like a Pro
Putting light and shadow in your control
Learning how to edit photos like a pro involves more than just filters and effects. It’s about mastering light and shadow, understanding the tools, and making thoughtful adjustments. Whether you're using basic sliders or advanced tools like tone curves and GIMP , the goal remains the same: enhance depth and maintain realism. With practice and a focus on detail, any photo can be transformed into a striking image that reflects skill and creativity.
Top Comments
-
Keavy Nolan
It's just an atomic content bomb! -

Kasper Johnson
Interesting point of view, did not consider the problem from this side! -
Beatrix Cullen
Can you take orders for the next post? I'm first in line!