


- Economics
- Style
- Stock market
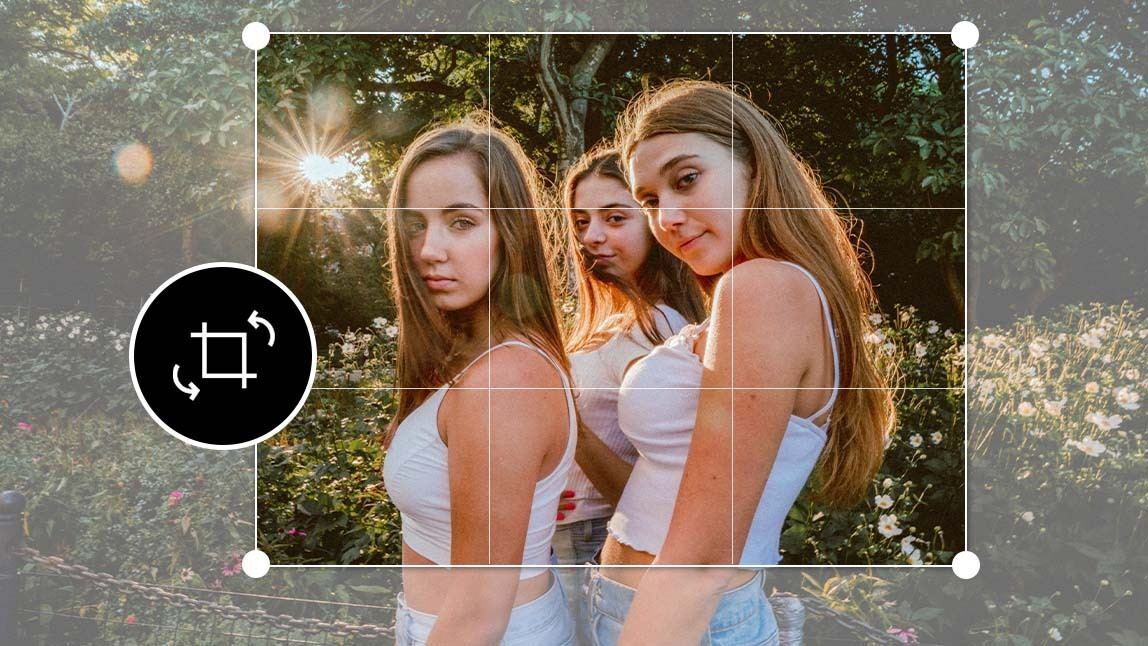
How to Edit Photos Like a Pro: Sharpen Cleanly
Sharpening Edges in GIMP with Control
How to define lines without over-processing
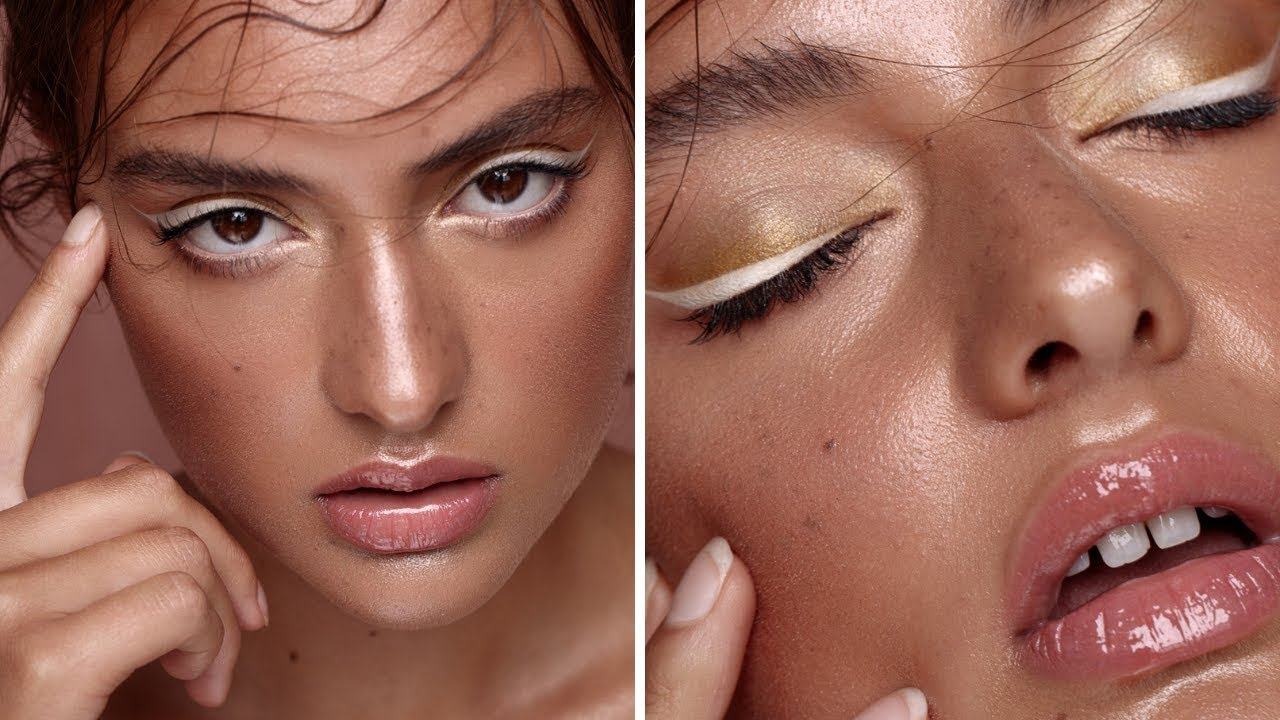
Sharpening is a powerful tool when used correctly. Its purpose is to enhance the clarity of lines and boundaries between objects, making a photo appear more defined. However, improper use can ruin a good image. The trick lies in controlling the intensity and the areas where sharpening is applied. Over-sharpened photos often look brittle, with halos around edges. In GIMP , you can use layer-based editing and masking to selectively apply sharpening only to important parts—like eyes in portraits or structural elements in architecture. Focused sharpening maintains visual strength while protecting the rest of the image from harsh artifacts.
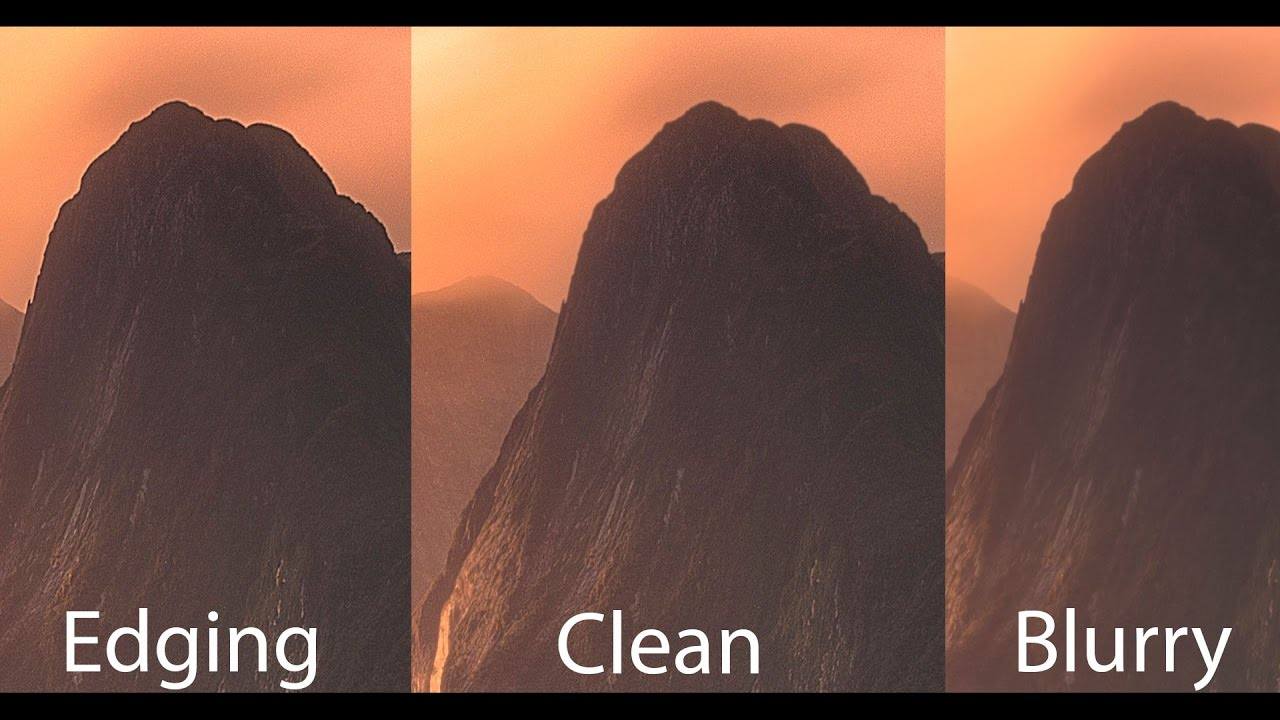
Avoid Harsh Textures in Nature Edits
Preserving softness in macro and landscape shots
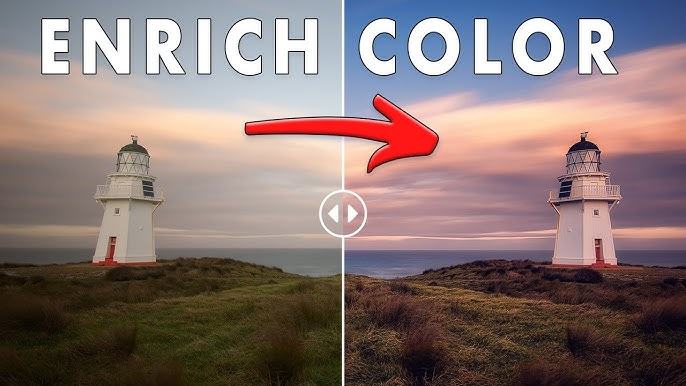
Nature images, especially macro and landscape photography, often feature delicate transitions between textures—leaf veins, clouds, or mossy stones. Sharpening too aggressively here can introduce an unnatural crispness, making the photo feel artificial. To preserve a soft and authentic feel, apply sharpening with a light touch. Use radius and threshold controls to protect fine gradients and natural tones. With GIMP, an effective trick is duplicating the image layer, sharpening the duplicate, and then masking it to only affect desired regions. This keeps natural surfaces like petals or sand from becoming brittle or noisy.
Tackle Digital Noise Before Sharpening
Why reducing grain first improves the outcome
Low-light photos or high ISO settings often come with digital noise—tiny specks that interfere with clarity. If you sharpen these images without addressing the noise, you’ll amplify the grain and make the photo look rough. Always reduce noise before sharpening. Start with luminance noise reduction to smooth out the most noticeable disruptions, then apply chroma noise reduction for color blotches. Once cleaned, you can apply sharpening more effectively. Even tools like GIMP offer plugins or filters to manage this process with care. A clean base layer means the sharpening can work precisely without boosting unwanted detail.
Use High-Pass Sharpening Techniques
_Targeting details without affecting texture**
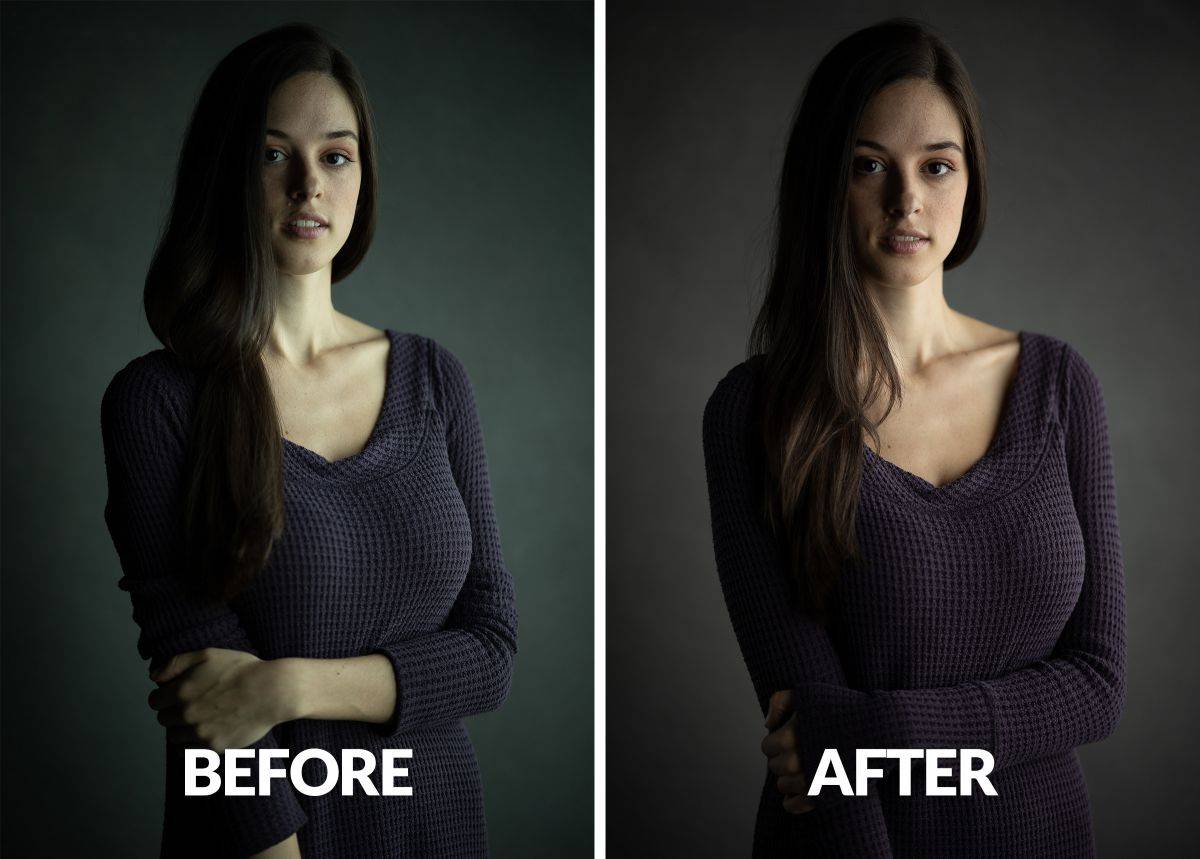
High-pass sharpening is a technique that isolates and enhances edges while keeping textures intact. It works by creating a grey overlay that only amplifies areas with contrast differences, leaving flat surfaces untouched. This method is especially useful for portraits or product shots, where clarity matters but softness is also important. In GIMP , apply a high-pass filter to a duplicate layer, set the blend mode to “Overlay” or “Soft Light,” and adjust opacity. This gives you fine control over the effect, allowing subtle sharpening that enhances rather than overwhelms.
Adjust Sharpening Based on Image Type
One size doesn’t fit all in detail refinement
Every image demands a different approach. A cityscape filled with hard lines and geometry can handle stronger sharpening, while a foggy landscape or child’s portrait needs a more delicate touch. Examine the scene's texture and lighting before deciding how much to sharpen. If the original capture was already crisp, less is more. Conversely, if the image feels flat, a controlled increase in edge clarity may be needed. With tools like GIMP , sharpening filters can be layered and customized, giving you the ability to adapt your technique to match the specific visual style of each photograph.
Sharpen for the Final Output Medium
Optimizing detail for print or digital viewing
Sharpening should be one of the last steps in your editing process, especially when preparing for print or web use. What looks sharp on a monitor may appear different in print due to resolution changes. Likewise, over-sharpened photos on social platforms can look harsh on small screens. Adjust your sharpening settings based on where the image will appear. Save versions suited for different platforms to retain detail where it matters most. Programs like GIMP allow for export-specific adjustments without affecting the original file, helping you maintain professional output quality.
Combine Sharpening with Contrast Enhancements
Enhancing structure without introducing noise
Sometimes an image doesn’t need much sharpening—it needs clarity through contrast. Increasing local contrast can boost perceived sharpness without actually modifying edge data. This method can be done through clarity tools or by using unsharp mask filters with very low radius settings. In GIMP , try using contrast-enhancing curves or “Selective Gaussian Blur” to make edges stand out naturally. This approach adds depth and dimension, keeping the image crisp without the risk of emphasizing noise or digital artifacts.
Work Non-Destructively for Safe Editing
Layers protect quality and offer greater control
Non-destructive editing ensures that you can always go back if a sharpening effect feels too strong. Use duplicated layers and masks when sharpening. This technique lets you fine-tune the intensity, erase sharpness in some areas, or blend sharp and soft details for balance. Non-destructive workflows are essential for professionals who work on detailed projects where precision matters. With tools like GIMP, these edits can be adjusted at any stage without damaging the original image—a critical part of editing photos like a pro.
Sharpening That Enhances, Not Destroys
Bringing out detail while keeping the image clean
Professional sharpening is about control, subtlety, and intention. It’s not about making the image sharper at all costs but doing so in a way that supports the composition and mood. By applying selective edge enhancement, reducing noise beforehand, and adjusting per image type, you ensure clarity without harshness. Tools like GIMP offer everything needed to sharpen effectively while preserving the photograph’s original beauty. When used wisely, sharpening brings life and energy to your images—refining them, not rewriting them.
Top Comments
-
Sabah Guthrie
Your post made me take a fresh look at this issue. Thank you! -

Gary Fitzpatrick
Your ideas just blow my mind! As always, great work. -
Kareena Leonard
Thank you for sharing your personal stories and experiences. It's always so inspiring!