


- TV
- World
- Lifestyle
How to Edit Photos Like a Pro: Portrait Retouching
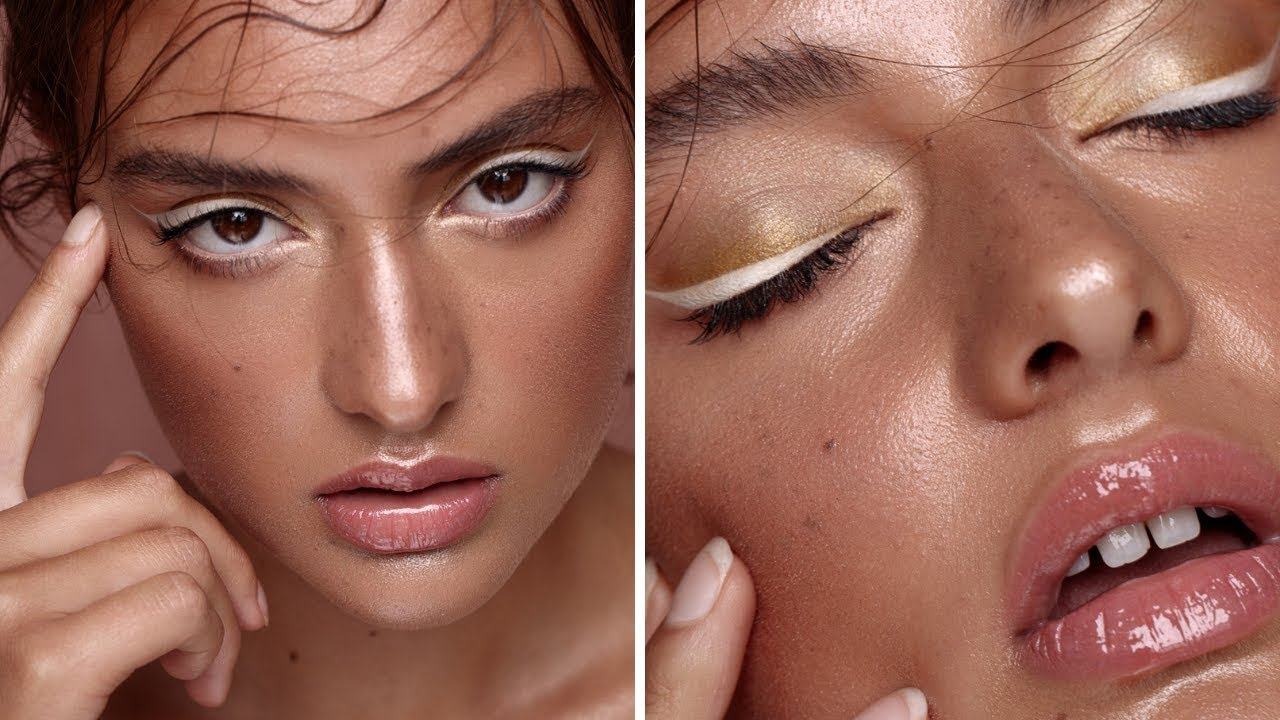
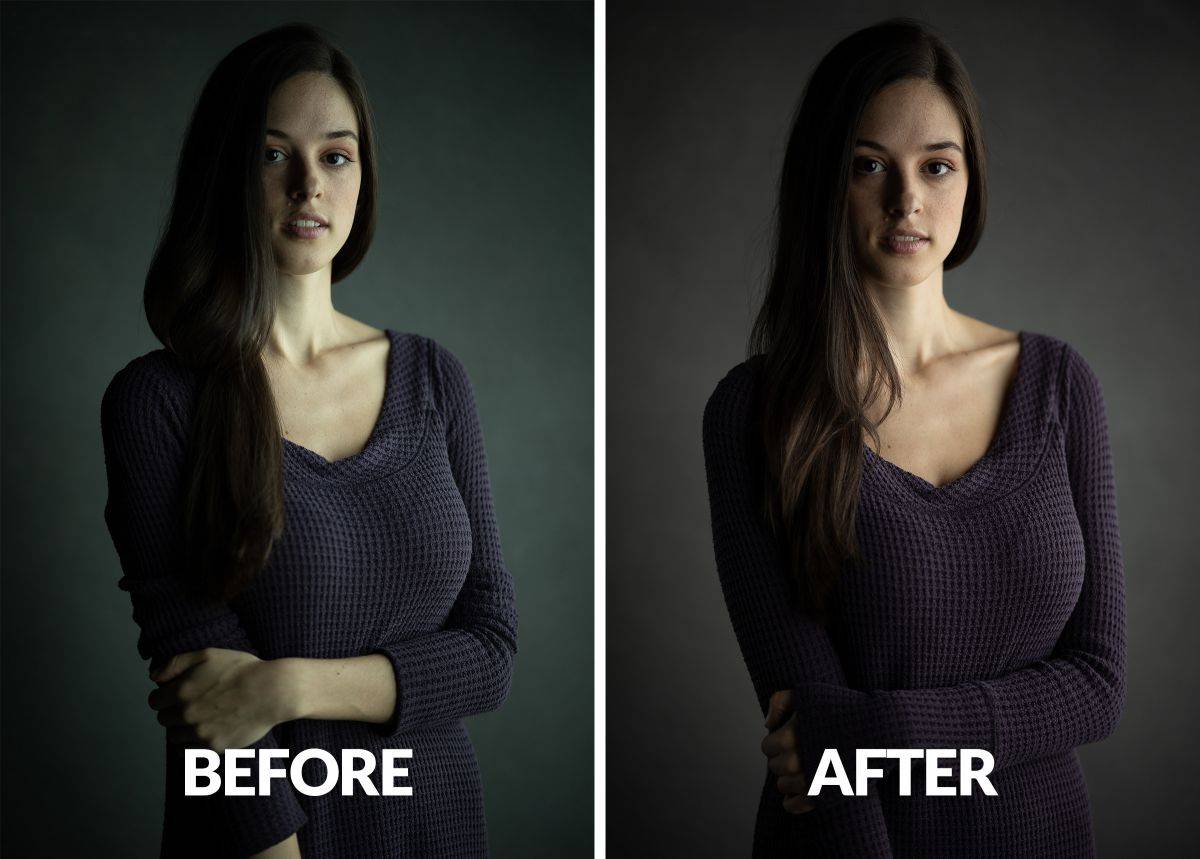
Smooth Skin While Preserving Texture
Cleaning up without turning skin into plastic GIMP
The key to editing portraits like a pro is finding a delicate balance between enhancement and authenticity. One of the most common areas to address is the skin. While it's tempting to blur or soften imperfections entirely, overdoing it can make a subject look unnatural and even unrecognizable. Start by reducing fine lines and blemishes using light spot healing or clone tools, then apply a soft blur to even out tones. However, avoid eliminating all pores or natural shadows. In GIMP, use a low-opacity brush for localized edits and combine it with layer masks to retain real skin texture beneath the surface.
Brighten the Eyes with a Subtle Touch
Enhancing life and focus without exaggeration
Eyes are the emotional center of any portrait. Enhancing them helps draw attention and infuses the image with life. The trick lies in moderation. Begin by gently lifting the shadows in the eye whites and adding a touch of contrast to the irises. You can also enhance catchlights—the natural reflections within the eyes—by brightening them slightly. Avoid making the whites too bright or the irises overly colorful. With GIMP, use a dodge tool at low strength to apply changes gradually. This keeps the look authentic while boosting clarity and presence.
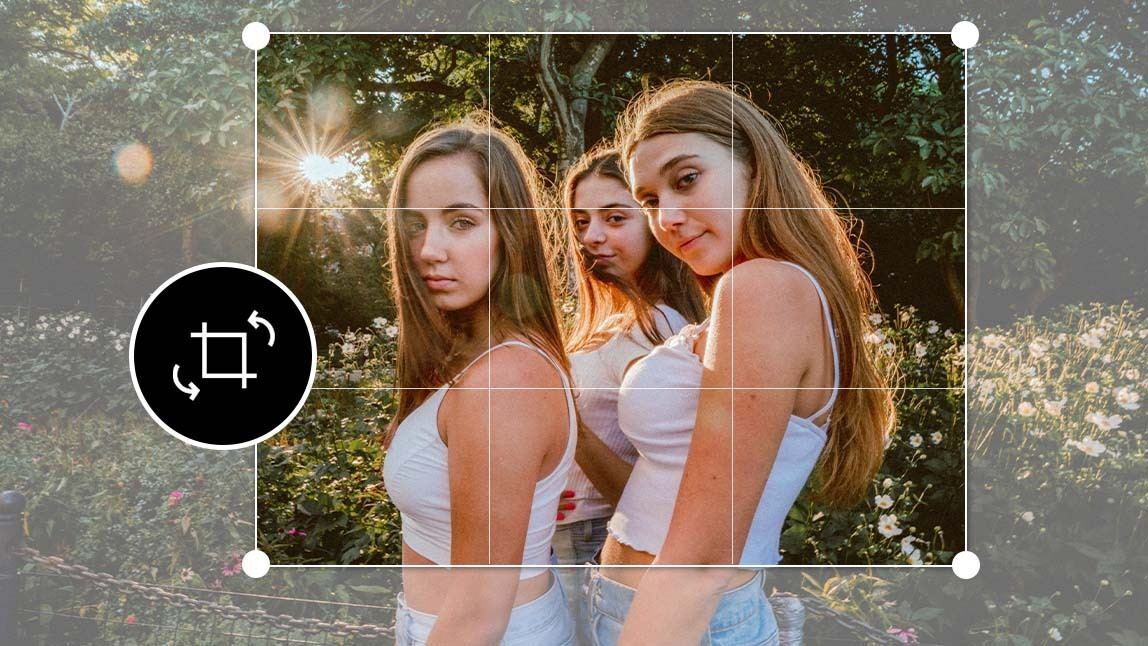
Define Facial Features Naturally
Using light and shadow to enhance structure
Portrait retouching often involves refining the shape and structure of the face without reshaping it unnaturally. Instead of relying on distortion tools, use dodging and burning techniques to emphasize cheekbones, jawlines, and other key areas. Brighten highlights subtly on the high points of the face, such as the forehead and nose bridge, and darken the sides for gentle contouring. These techniques mimic professional lighting and help give the photo dimension. Applying these effects on new layers allows you to adjust intensity without committing to drastic changes.
Reduce Blemishes Without Erasing Identity
Making small corrections while keeping character
Everyone has minor imperfections—blemishes, moles, texture inconsistencies—that add to their uniqueness. In professional retouching, the goal isn’t to erase individuality, but to reduce distractions. Focus on temporary marks like spots, redness, or minor scratches. Permanent features like birthmarks or freckles should be handled with care and only altered if they detract from the subject’s comfort or the context. In GIMP , use the healing tool with a soft brush, keeping strokes small and specific to avoid blurring surrounding detail. This helps keep the portrait true to the subject while refining the surface.
Control Shine Without Losing Glow
Balancing light reflections for a clean finish
Shiny skin—often caused by lighting or heat—can be a common issue in portraits. While some shine adds natural vibrancy, excessive glare can draw unwanted attention. Target the problem areas, such as the forehead or nose, by reducing highlights selectively. Avoid reducing all highlights, as this will flatten the image. A soft clone or healing tool in GIMP , used at a reduced opacity, can gently replace reflective spots with more neutral tones. Done correctly, the result keeps the healthy glow intact without creating dull or artificial-looking skin.
Avoid Over-Editing Common Features
Preserving expression and individuality
Lips, brows, and lashes often get edited too heavily in portraits. While enhancing these areas is fine, going too far can result in a synthetic look. For lips, only enhance contrast or color slightly if needed—avoid reshaping or repainting. Eyebrows should retain their natural fullness and unevenness, while lashes can be gently defined but not redrawn. Enhancing these features should support the portrait, not overpower it. Think of your edits as makeup rather than a redesign—temporary, accentuating, and subtle.
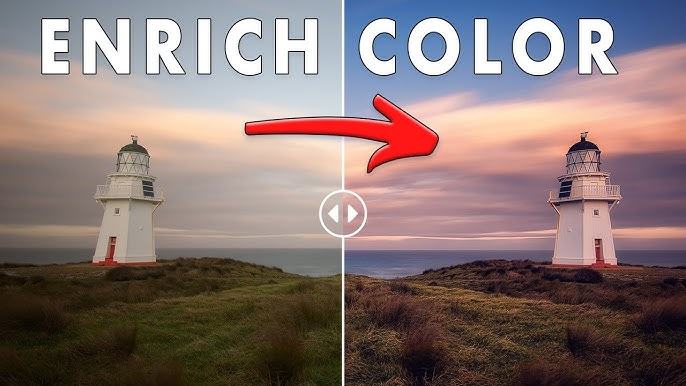
Maintain Natural Color Balance in Skin
Avoid unnatural tints that ruin tone and depth
One of the easiest ways to ruin a good portrait is through incorrect color adjustments. Skin tones are particularly sensitive to hue shifts. Editing tools like GIMP provide precise control over color balance and hue-saturation levels. Use these tools sparingly to correct lighting inconsistencies or subtle color casts. Watch for overly orange, yellow, or pink tones that look unnatural. Instead, aim for warm neutrals and maintain the skin’s subtle variations. This ensures the result feels real and visually appealing without straying into artificial territory.
Use Layers to Retain Original Detail
Protecting authenticity with flexible editing
Layers are essential in portrait editing because they provide flexibility. By placing changes on separate layers, you maintain access to the original image and can adjust, reduce, or reverse changes at any time. For example, smoothing skin on a duplicate layer lets you reduce its opacity until it looks realistic. Sharpening can be confined to one layer to isolate its effect. Tools like GIMP allow you to create multiple layers and use blending modes to control how each layer interacts. This workflow safeguards your subject’s authenticity while allowing creative control.
Final Advice on Portrait Retouching
Enhance naturally and edit with restraint
The goal of portrait editing is not transformation—it’s enhancement. Every decision should be grounded in the intent to reflect the subject's natural look while reducing visual distractions. By smoothing skin carefully, highlighting eyes, reducing shine, and maintaining natural tones, you can produce polished portraits that still feel human. Remember, less is more. The more subtle your edits, the more powerful the result. With practice and thoughtful use of tools like GIMP , you can edit photos like a pro without erasing what makes each face unique.
Top Comments
-
Danika Beasley
It's just like pumping up my brain! This is great! 10 out of 10. -

Issac Hicks
Well noticed! Your blog always brings something new and useful. -

Frida Hoffman
I've been looking for information on this topic for a long time. You helped me a lot!